Bonefish Release Technique
It’s common knowledge that bonefish are no good to eat; as their name suggests, they are full of bones. All Cayman bonefishing is catch-and-release. We all want these fish to be here the next time we hit the water; we want them here for our kids to enjoy just as much as we have. It’s up to us—the anglers—to keep our fish healthy with proper care.
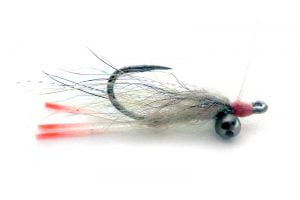
Good release practices actually begin before you actually hook a bonefish, starting with the fly itself. Barbless flies will actually hook more fish and makes releasing them soooo much easier. Due to their rubbery mouths, bonefish almost never throw barbless flies.
Bonefish exposed to air
for more than 15 seconds
are 600% more likely to die.
Bonefish Release Basics
- Use barbless flies.
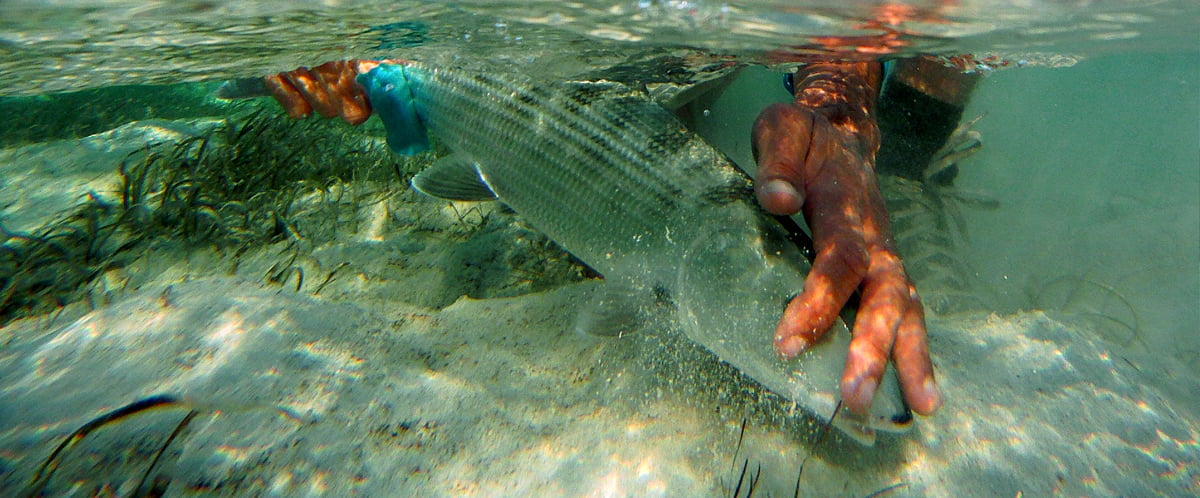
- Keep the fish wet!
- Handle as little as possible with clean, wet hands only. (No sunblock on palms and no sungloves. Both these remove slime and can cause infection.)
- Don’t “lip” bonefish or hang with any lip-gripping device (e.g. BogaGrip).
- Reduce time out of water. (Bonefish exposed to air for more than 15 seconds are 600% more likely to die post-release. )
Go Barbless
Debarbing flies can actually increase the hookup ratio, especially on store-bought flies. Here’s why: one of the most common hook models for commercial saltwater flies is the venerable Mustad® 34007. This hook has a very large barb, which can actually prevent the full penetration of the hook if you don’t strike the fish hard enough. It’s pretty obvious that the same big barb will prevent the fly from coming back out again, but that’s not necessarily a good thing.
I guide a lot of beginners to their first bonefish on the fly and (whether they realize it or not) I only use barbless flies. Not only do we almost never have any problem with the fish slipping the hook, but the hookup rate is very good for first-timers. I mean, when I began I went zero for 13: not good. Nevertheless, after a few false starts our first time bonefishers regularly hook and land one of the first bones to eat their fly.
Granted, beginners to the flats often have to learn how to “strip-strike” instead of raising the rod in the classic “trout set” they’re used to back home. Raising the rod in this manner is a very ineffectual way to set the hook. A fly rod is simply too flexable a tool to deliver the appropriate force to really drive the hook point in… especially if there’s a giant barb in the way. Crushing those barbs gives my clients a little extra advantage if—in the heat of the moment—they forget everything and “trout set”.
Debarbing the fly also has another advantage for beginners. Often beginning bonefish outing anglers will break off a few fish until they learn just how fast and strong bonefish are. Should this unfortunate event occur, it’s a comfort to all of us to know that the bonefish will have little problem working barbless hooks back out of their mouths. This is especially important with the Mustad 34007 hooks, since they’re stainless and won’t rust out. Lots of saltwater anglers love stainless hooks—they last longer in the flybox—but they are bad for fish when we break them off. A hook in the mouth can definitely interfere with normal feeding behaviour of the fish.
The next aspect of good release technique is the fight itself. Anything that prolongs the fight is bad for the fish. It’s common knowledge that weak fish make easy targets for predators. In fact recent research shows that a stressed bonefish releases a chemical cocktail that actually attracts sharks. Fortunately, I’ve never had this happen in the Cayman Islands, but I never want it to. Luckily bonefish are tough fish, but there are others that aren’t as tough. For example, Snook have a high post-release mortality rate and need to be forced a little so they can be released as fresh as possible. Tarpon are the somewhere between.
Fight that Fish!
There are several mistakes that can lead to a prolonged fight. The first, (and a big pet-peeve for many bonefish guides) is using too light a leader. I’ll say it here again, BONEFISH ARE NOT LEADER SHY. There, I feel better. There are very few circumstances when anything under 12-pound tippet is called for when bonefishing, and most of the time there’s no need to drop below 16-pound. Unless you’re fishing for 1 – 2 pound schoolies in Mexico, Belize, or somewhere, 10-pound is definitely too light. I never use anything less than 12-pound leaders for my clients and often scale up to 16-pound when targeting bigger fish. And, yes, we still catch plenty of bones.
The second problem is not fighting the fish firmly enough or using too light a drag. Something that every flyfisher should do is test the strength of their leaders and feel what it feels like to really pull on a fish.
Here’s a very simple test that every angler should do:
- Tie a typical bonefish fly (a #4 Gotcha or something) onto a bonefish leader (say 12-pound for starters).
- Hook the fly around something firm – the back-yard fence, a car bumper, whatever.
- Back up a few yards so that you’re mid-way through the belly of the fly line—about the typical distance you’d hook a bonefish from.
- Set your drag to where you usually have it for bonefish and…
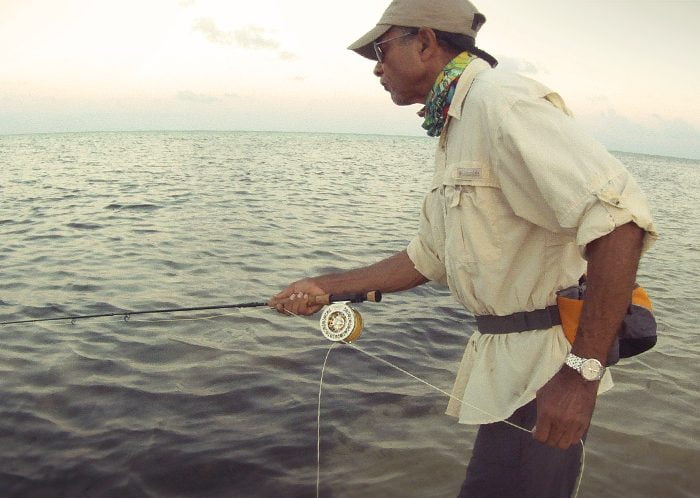
- Begin to pull, putting a good bend in the rod and trying to use the butt-section for most of the force.
You’ll soon find you have to either hold on to your line or tighten your drag considerably to keep the line from slipping. Almost certainly you’ll be surprised how hard it is to break the leader or straighten the hook. In fact, I bet you’ll find yourself cringing for the life of your rod. (Please don’t email, call or leave comments about broken rods.) If you don’t high-stick you shouldn’t break an 8-weight rod with 10 pound test. Right?
This simple test (which I can’t recommend enough) will demonstrate just how much pressure your tackle is capable of… quite a lot, right? Next time you’re fighting a fish remember that you don’t have to baby it: 10-pound tippet and an 8-weight fly rod can put serious pressure on any fish when used correctly.
Landing the Fish
The next element of the release is actually landing the fish. This is where a lot of anglers put undo stress on their catch. Bonefish have no easy place to grab them and very few guides carry nets while wading for bones. Permit have that convenient handle right above the tail, and tarpon can be lipped like a bass, but bones are pretty tricky to get a handle on. This encourages bonefishers to grip the fish tightly right behind the head, which means they’re squeezing either the gill-plates or their stomach and organs. Either way this is bad for the fish. I commonly see anglers squeeze the gill plates shut as they hold the fish for a photo. They may even mean well, conscientiously holding the fish underwater while the guide gets the camera ready, but with the gills held closed the fish can’t actually breath.
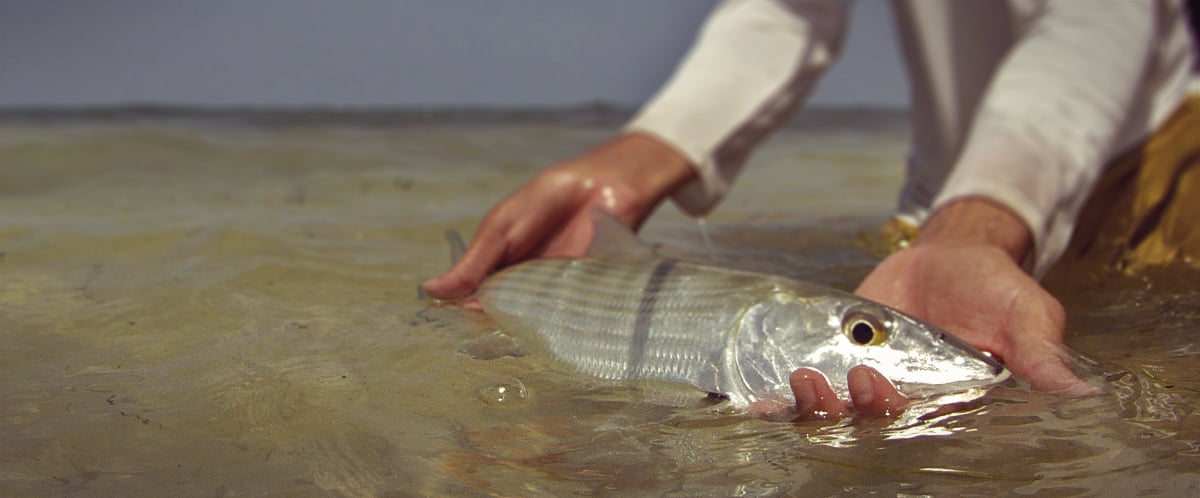
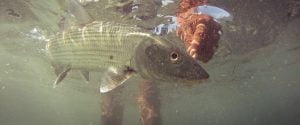
There is a very simple way to get bonefish under control and ready for that hero shot. First, take a close look at that bonefish; they are widest just behind their pectoral fins. So, make sure you grab them in front of their pectorals. That way if they do kick they won’t slip out of your hand. Now, with your free hand grip the fish by the base of the tail. So long as you keep the fish underwater it should be fairly calm… at least for a minute or two. If you want to get a photo, have your partner get the camera ready and focused, then gently lift the fish from the water. It should rest calmly enough to snap a quick picture. Quickly dip it back in the water and release.
Of course, you don’t have to take a picture of every bonefish. Just saying. Unless it’s your first bonefish or a real monster then best practice is to simply pop the barbless hook out underwater and watch it swim away. No muss, no fuss.
The Release
Now we come to the final part, removing the hook and releasing the fish. This is actually the easiest part and, if you’ve done everything else right, the fish should still be in good shape.
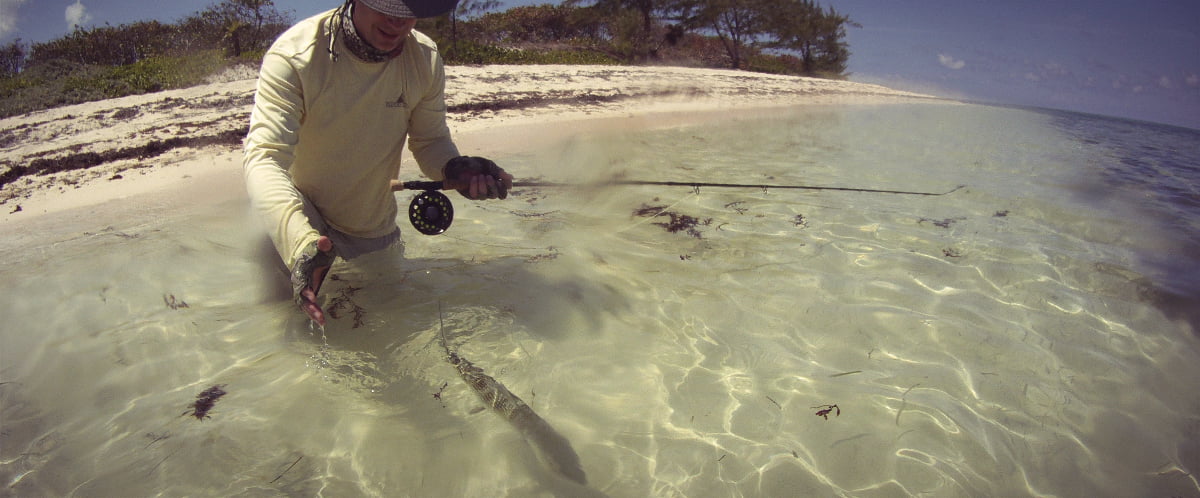
Gripping the fish underwater as described above, use your other hand to slide the hook out. If you keep the head covered, again, there should be very little struggling. Remember, the more the fish struggles and fights, the weaker it gets and the greater chance it will become food for a shark or cuda as soon as you release it. Once the hook is out, release the fish and wait for it to get it’s bearings and swim off. Try not to make any sudden movements or startle the fish at this point.
In some cases with especially big fish in warm water conditions, the fish may actually need some reviving. Remember, AND THIS IS IMPORTANT, never push and pull the fish back and forth to revive it. Gills work in one direction only. If the fish needs reviving, simple push it in a circle around you until it kicks free on its own. If you’re in a skiff you can have the guide pole a bit to get water moving over it’s gills. In areas of high current, face the fish into that and simply hold it until it kicks free.
Try these simple tips for your next release and you’ll be able to rest easy that you’ve given your precious quarry every chance to humiliate another angler in the future.


